
Live interactive sessions with our highly trained and certified
teachers to ensure the best learning experience Get Started
Latest Blogs


It is that time of the year when the sky is filled with kites in vibrant hues. And if you are worried about celebrating Makar Sankranti in the middle of a pandemic then fret not. We, at FSM Buddy, have prepared a guide to help you make DIY kites with easily available materials at home. We guarantee that with your handmade kites, you and your kids will be able to enjoy the festival of kite flying in its full glory from the comfort of your home.
Here is everything you need to know about kite making with your little ones.
Materials for Making a Kite
A full sheet of newspaper
Two 1/4 inch round wooden dowels (one 24 inches, one 20 inches)
Scissors
Pencil
String
Masking tape or packing tape
Ruler or yardstick
Yarn and/or ribbons
Little handsaw
Directions for Making a Kite
Step 01
Start by cutting your wooden cane to the correct lengths. You will need your canes in 24 inches and 20 inches length.
(You can take help of the kids to measure the dowels with a ruler or a yardstick and then cut them yourself with a saw)
Step 02
Use the handsaw to make notches in both ends of your two wooden canes.

Step 03
Lay the 24 inch cane vertically and measure 6 inches from the top. Mark it with a pencil. Place the smaller dowel across this mark to form a ‘t’ shape. Use your string to wrap the dowels together at the point where they meet. Do pay special attention to the notches at the end of each cane. You’ll want them all parallel to the floor your sticks are on so that you can later wrap string around the frame.

Once you have tied the dowels with a string, you can then place some masking tape over the string to secure your dowels.

Step 04
Wrap the string all the way around the kite in such a way that goes right into the notches.

Once the frame is done, the next thing is to add newspaper. (Even a plastic trash bag can be used)
Step 05
Place a large sheet of newspaper on the floor and place your frame on top of it. Cut about one inch outside the frame. This will help the newspaper attain the same shape of your frame.

Step 06
Fold the edges of the newspaper over the string and tape them down, as shown in the below image.

Step 07
Cut a 24 inches long piece of string and poke holes into the top and bottom points of the kite. Tie one end of the string into the top hole and one end into the bottom hole. (You can also use some tape to keep it secured.)
This is the brindle of the kite. Tie your flying string to this brindle string to fly your kite. (We started by tying the string about 1/3 of the way down the brindle and then adjusted it to help the kite fly.)

Here in this image, you can see the brindle string is running along to the top edge of the dowel rod. It’s been tied and taped down. (The other string along the bottom is just an extension of the string that was wrapped around the frame. Note that, it’s not necessary at all.)
Step 08
Use ribbon to create a tail for your kite.

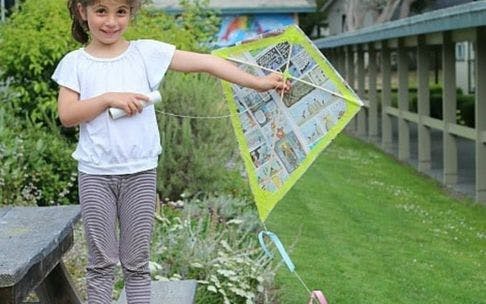
And now you’re ready to go kite flying!

Don’t forget to share with us images of your lovely kites. Happy Makar Sankranti!
(This blog has been contributed by Tanya)


Furtados High Music Pvt. Ltd